Meet Amanda Aug 18, 2021 | Before and After Gallery, Featured Patient Stories | silvradmin What was life like before bariatric surgery?I was so large that I had no energy at all. I was also afraid of my size and […] Meet James Jul 21, 2021 | Before and After Gallery, Featured Patient Stories | silvradmin What was life like before bariatric surgery?I was unable to move freely. I had a bad back knee and joint pain that kept me from […] Meet Hayley Jul 21, 2021 | Before and After Gallery, Featured Patient Stories | silvradmin What was life like before bariatric surgery?My weight gain stopped me from being me. It ruined my personality, and I shut down. I couldn’t bend […] Meet Vickie Jun 9, 2021 | Before and After Gallery, Featured Patient Stories | silvradmin What was life like before bariatric surgery?Before surgery, I felt very insecure about myself and my body. I never wanted to wear regular clothes other […] Meet Melissa May 13, 2021 | Before and After Gallery, Featured Patient Stories | silvradmin What was life like before bariatric surgery?My biggest frustration was not getting to play on the floor with my grandbabies without worrying about getting up. […] Meet Kaitlin Apr 7, 2021 | Before and After Gallery, Featured Patient Stories | silvradmin What was life like before bariatric surgery?Before my weight loss surgery, I had become so ashamed of my body. I had lost all motivation to […] Meet Nicole Apr 7, 2021 | Before and After Gallery, Featured Patient Stories | silvradmin What was life like before bariatric surgery?Before my surgery, I was diagnosed with PCOS, borderline diabetes, and had several acid refluxes. I was severely depressed […] Meet Sandy Apr 7, 2021 | Before and After Gallery, Featured Patient Stories | silvradmin What was life like before bariatric surgery?I found myself turning down invitations to events where I would see people who knew me before I gained […] Meet Laura Apr 7, 2021 | Before and After Gallery, Featured Patient Stories | silvradmin What was life like before bariatric surgery?I tried so many diets! I spent all my life yo-yo-ing up and down with my weight. I have […] Meet Annette Apr 7, 2021 | Before and After Gallery, Featured Patient Stories | silvradmin What was life like before bariatric surgery?I’m so happy with myself and how well I have been doing since August 3rd, 2020. My pre-op weight […] « Previous PageNext Page »
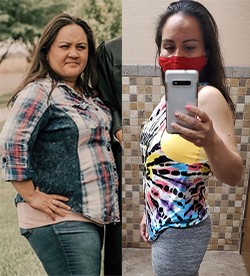
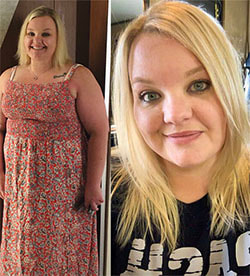
Meet Amanda Aug 18, 2021 | Before and After Gallery, Featured Patient Stories | silvradmin What was life like before bariatric surgery?I was so large that I had no energy at all. I was also afraid of my size and […]
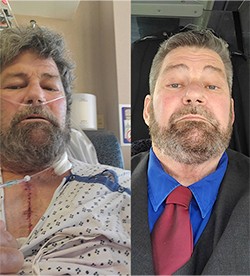
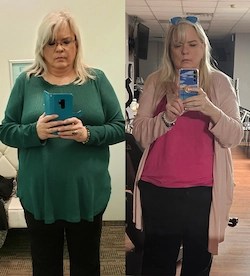
Meet James Jul 21, 2021 | Before and After Gallery, Featured Patient Stories | silvradmin What was life like before bariatric surgery?I was unable to move freely. I had a bad back knee and joint pain that kept me from […]
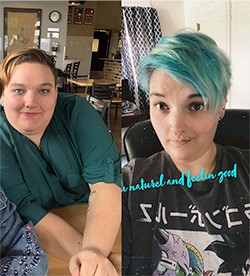
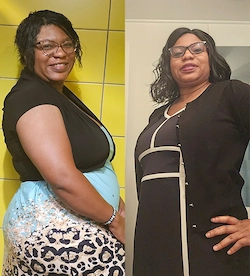
Meet Hayley Jul 21, 2021 | Before and After Gallery, Featured Patient Stories | silvradmin What was life like before bariatric surgery?My weight gain stopped me from being me. It ruined my personality, and I shut down. I couldn’t bend […]
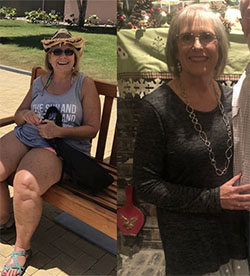
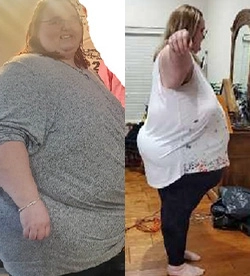
Meet Vickie Jun 9, 2021 | Before and After Gallery, Featured Patient Stories | silvradmin What was life like before bariatric surgery?Before surgery, I felt very insecure about myself and my body. I never wanted to wear regular clothes other […]
Meet Melissa May 13, 2021 | Before and After Gallery, Featured Patient Stories | silvradmin What was life like before bariatric surgery?My biggest frustration was not getting to play on the floor with my grandbabies without worrying about getting up. […]
Meet Kaitlin Apr 7, 2021 | Before and After Gallery, Featured Patient Stories | silvradmin What was life like before bariatric surgery?Before my weight loss surgery, I had become so ashamed of my body. I had lost all motivation to […]
Meet Nicole Apr 7, 2021 | Before and After Gallery, Featured Patient Stories | silvradmin What was life like before bariatric surgery?Before my surgery, I was diagnosed with PCOS, borderline diabetes, and had several acid refluxes. I was severely depressed […]
Meet Sandy Apr 7, 2021 | Before and After Gallery, Featured Patient Stories | silvradmin What was life like before bariatric surgery?I found myself turning down invitations to events where I would see people who knew me before I gained […]
Meet Laura Apr 7, 2021 | Before and After Gallery, Featured Patient Stories | silvradmin What was life like before bariatric surgery?I tried so many diets! I spent all my life yo-yo-ing up and down with my weight. I have […]
Meet Annette Apr 7, 2021 | Before and After Gallery, Featured Patient Stories | silvradmin What was life like before bariatric surgery?I’m so happy with myself and how well I have been doing since August 3rd, 2020. My pre-op weight […]